Appendix A: Host PC Setup Guide
ZephyrOS can be installed and used on most recent builds of Windows, macOS, and Linux. In order to re-create this lab on your own host PC, install the required dependencies as follows.
Step 1: Follow the Zephyr Getting Started Guide
This step is common to all platforms. Follow the official Zephyr documentation to install the Zephyr SDK, Python dependencies, and toolchain for your operating system:
https://docs.zephyrproject.org/latest/develop/getting_started/index.html
Step 2: Install OpenOCD
OpenOCD must be installed separately from the Zephyr SDK. Even if your Zephyr environment is fully configured, flashing and debugging with OpenOCD will fail unless OpenOCD is installed on your host and available on your system PATH.
- Ubuntu
- macOS
- Windows
sudo apt install openocd
Reference: OpenOCD Debug Host Tools - Zephyr Docs
Download the pre-built Windows binary from the Zephyr host-tools page
and extract it to a folder of your choice (e.g. C:\openocd).
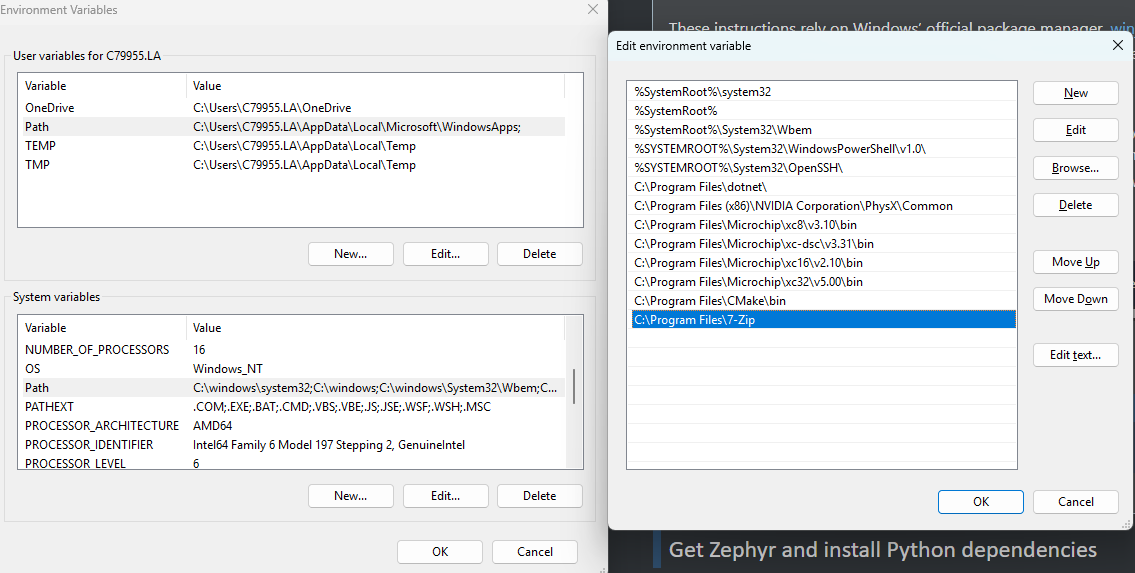
Add OpenOCD to your system PATH:
- Press Win + S and search for "Edit the system environment variables", then click it.
- In the System Properties dialog, click Environment Variables....
- Under System variables, select Path and click Edit....
- Click New and enter the full path to the OpenOCD
bin\folder (e.g.C:\openocd\bin). - Click OK on all dialogs to save, then restart your terminal application.
Verify the install by opening a new PowerShell window and running:
openocd --version
Step 3: Install VSCode and the Serial Monitor Extension
Download and install Visual Studio Code for your platform:
https://code.visualstudio.com/download
Once installed, open VSCode and navigate to the Extensions Marketplace (Ctrl+Shift+X / Cmd+Shift+X). Search for and install the Serial Monitor extension.